
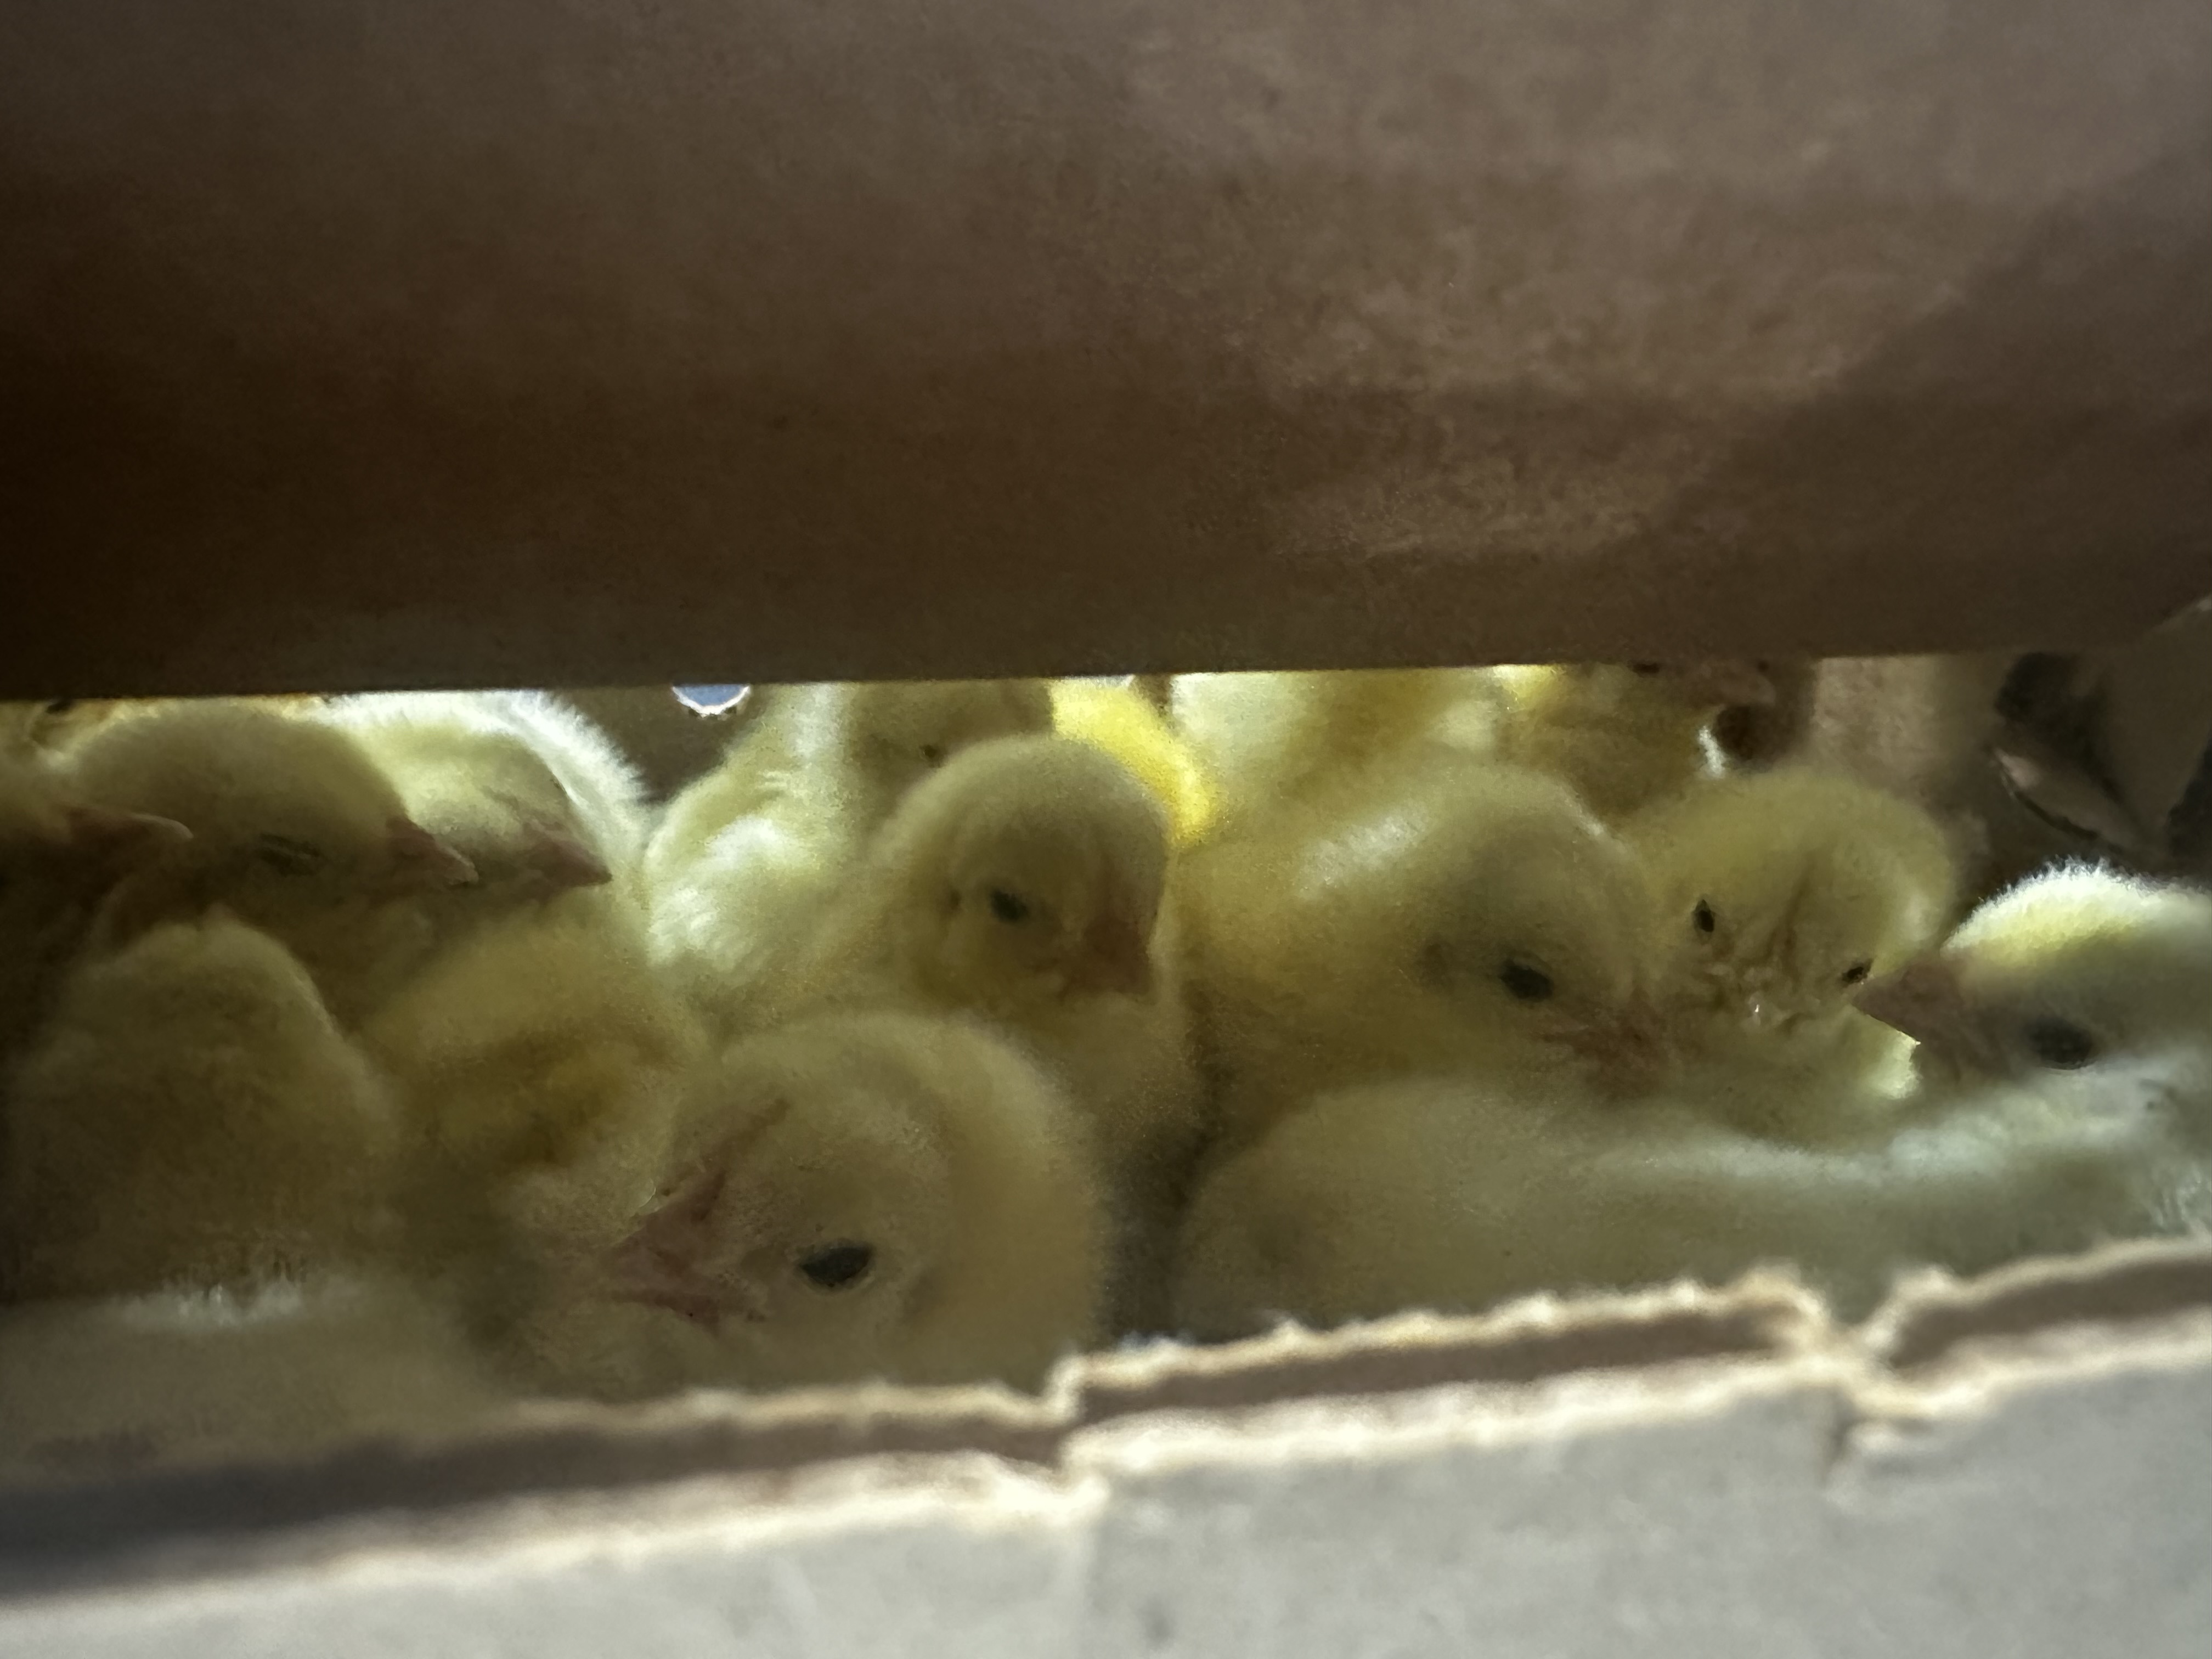
Every spring, social media fills with fluffy chicks and baby animals of every kind. It is tempting to get swept up in the excitement. But before you bring chicks home, preparation matters more than enthusiasm.
The first hours and days in your care are critical to a chick’s survival, long-term health, and your overall success as a chicken keeper. A properly prepared brooder setup is not optional. It is essential.
If you want strong, thriving birds instead of stressed, struggling ones, here is exactly what you need ready before your chicks ever arrive.
Set Up the Brooder Before Chicks Arrive
Never bring chicks home to an unfinished brooder.
Your brooder should be completely assembled, tested, and warmed to the correct temperature before the chicks leave the feed store or arrive from the hatchery. Baby chicks cannot regulate their body temperature efficiently. Even brief chilling can weaken them and make them more vulnerable to illness.
A proper brooder includes:
- A secure draft-free container (stock tank, brooder box, or large tote)
- Appropriate bedding
- A reliable heat source
- Fresh water
- Chick starter feed
- Grit (if offering anything beyond standard starter feed)
Test everything at least 24 hours in advance. Confirm that temperatures are stable and that feeders and waterers are positioned safely.
Keep Them Close at First
When I bring home a small number of chicks, I keep them inside the house for the first few days. This makes it easy to monitor behavior closely.
New chicks can decline quickly if something is wrong. Keeping them nearby allows you to observe:
- Are they eating?
- Are they drinking?
- Are they active and alert?
- Are they chirping in distress?
- Are they pasting up? (pasty butt!)
- Are they huddling or panting?
Early observation can prevent small problems from becoming fatal ones. Those first 72 hours matter.
Choose the Right Bedding (And Keep It Clean)
For the first few days, I use dog pee pads on the bottom of the brooder. This makes cleanup simple and sanitary during that fragile adjustment period.
Chicks are messy. They scratch, spill water, and scatter feed. Pee pads allow you to quickly remove waste and replace with a clean surface without disturbing them too much.
After a few days, you can transition to pine shavings (never cedar, which can cause respiratory issues). I also like to use hemp bedding, which has less dust and absorbs odor well, but it is pricey. Avoid slick surfaces like newspaper, which can cause leg injuries such as spraddle leg.
Clean bedding reduces ammonia buildup and lowers the risk of respiratory problems.
Use a Radiant Heating Plate Instead of a Heat Lamp
Heat lamps are common, but they come with risks. They can overheat chicks and pose fire hazards.
I prefer a radiant heating plate that can be adjusted as chicks grow. This system mimics the warmth of a mother hen. Chicks can scurry underneath when they need warmth and move away when they do not.
This gives them control over their own comfort, which helps prevent:
- Overheating
- Dehydration
- Stress-related lethargy
Start at approximately 95°F during week one, then reduce by about 5°F per week. Observe behavior more than the thermometer. If chicks are huddled tightly, they are too cold. If they are spreading out far from the heat source and panting, they are too warm.
Have Feed and Grit Ready
Before chicks arrive, stock up on:
- High-quality chick starter feed (medicated or non-medicated, depending on your preference and vaccination status)
- Chick grit (if offering treats or supplemental foods)
Chicks should have constant access to fresh starter feed. Their tiny bodies grow rapidly and require steady nutrition.
If you offer anything beyond starter feed—such as scrambled egg yolks—provide chick grit. Grit helps them properly digest anything that is not commercially prepared crumble.
Running out of feed during the first week is not an option. Plan ahead.
Add Vitamins and Electrolytes to Their Water
Travel and transition are stressful for baby chicks. Whether they arrive by mail or from a local farm supply store, that shift into a new environment takes a toll.
Adding vitamins and electrolytes to their water for the first few days supports hydration and recovery from stress. It can make a noticeable difference in their energy and resilience.
Always provide clean, fresh water. Change it frequently, especially since chicks have a talent for stepping directly into it.
Dip Their Beaks in Water (And Why It Matters)
When placing chicks into the brooder, gently dip each chick’s beak into the water.
This small action is critical.
Chicks do not automatically understand where water is in a new environment. Dipping their beak stimulates the drinking reflex and shows them the source of hydration. Once a few chicks begin drinking, others often follow by instinct.
Dehydration is one of the most common early causes of weakness in newly arrived chicks. Teaching them to drink immediately gives them the best possible start.
Offer a Nutrient Boost
During the first few days, I scramble egg yolks and offer small amounts as an additional nutrient boost.
Egg yolks are rich in protein and fat—both essential for growth and immune support. This can be especially helpful for chicks that experienced shipping stress.
Only offer small portions and remove uneaten food promptly to maintain cleanliness. And remember: provide chick grit if offering supplemental foods.
Additional Important Tips Before Bringing Chicks Home
Secure the Brooder From Drafts
Even mild drafts can chill baby chicks. Keep the brooder in a stable, temperature-controlled space away from vents and exterior doors.
Prevent Pasty Butt
Check chicks daily for buildup around the vent area (commonly called “pasty butt”). Gently clean with warm water if necessary. Left untreated, this condition can become fatal.
Use the Right Waterer
Choose a shallow chick waterer designed to prevent drowning. Avoid deep containers.
Plan for Growth
Chicks grow quickly. Make sure your brooder is large enough to accommodate expansion over several weeks. Crowding leads to stress and pecking issues.
Preparation Is an Act of Responsibility
It is easy to be swept up in spring’s excitement. But raising chicks successfully begins before you ever hear that first peep in your home.
Preparation is not optional. It is the foundation of survival.
Set up the brooder first. Stabilize the temperature. Stock feed and grit. Add vitamins and electrolytes. Use a safe heat source. Dip their beaks in water. Observe carefully.
Those first moments in your care are not just cute—they are critical.
When you take the time to prepare properly, you are not just bringing home chicks. You are setting the stage for a healthy flock and a successful season on your homestead.


Leave a Reply