
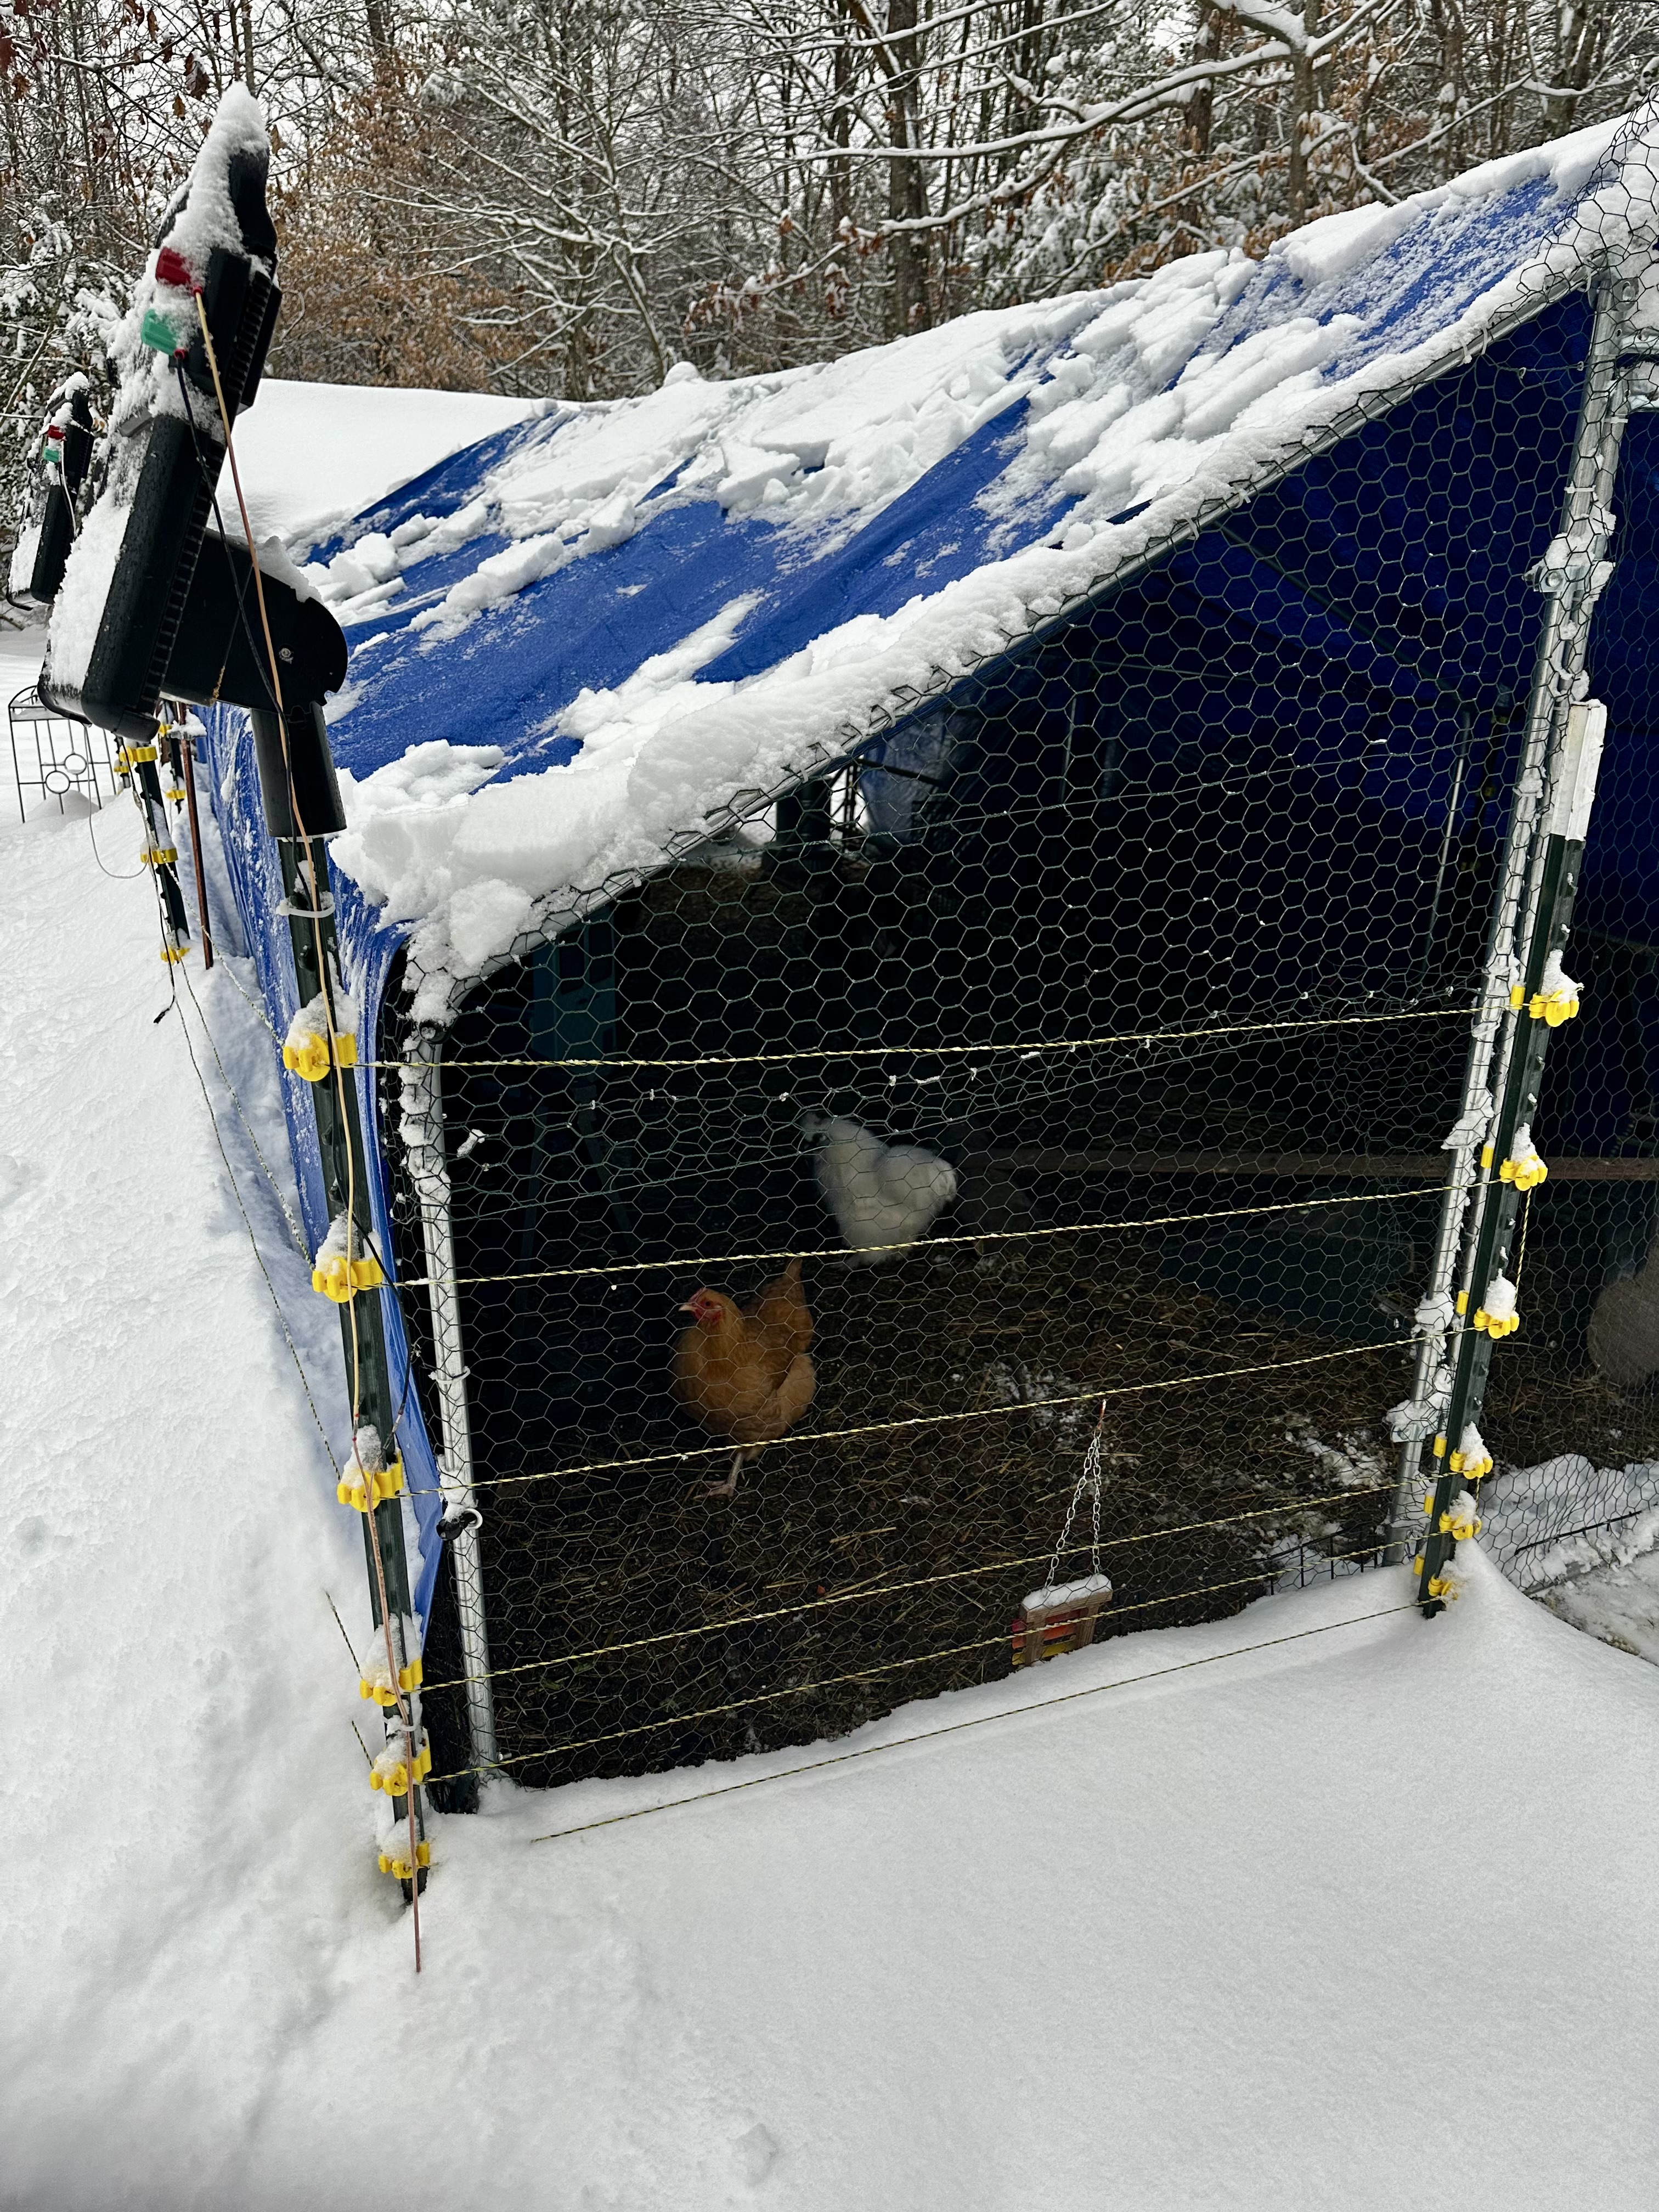
Keeping your chickens warm is important, but keeping their coop dry and properly ventilated might be even more important.
There is something about those first really cold mornings of the season that makes us want to bundle everything up, seal every opening, and protect our animals from the winter weather ahead.
And when it comes to our chickens, that instinct is especially strong!
Here at J & J Homestead, we’ve been busy preparing our chicken coops for winter. We’ve added bedding, checked for drafts, and made sure our flock has a comfortable place to escape the wind, rain, and freezing temperatures.
But there’s one winter chicken care mistake that can actually do more harm than good: sealing your chicken coop so tightly that fresh air can no longer circulate.
It sounds a little backward, doesn’t it? After all, aren’t we supposed to keep our chickens warm?
Absolutely! But here’s something every backyard chicken keeper should understand: A cold, dry chicken coop is often much healthier than a warmer, damp, poorly ventilated one.
Let’s talk about why winter chicken coop ventilation is so important, how moisture and ammonia can affect your flock, and how to tell the difference between a dangerous draft and the fresh air your chickens need.
Why Chickens Need Ventilation, Even in the Middle of Winter
One of the most amazing things about chickens is how well they’re equipped to handle cold weather.
Their feathers provide natural insulation, trapping pockets of warm air close to their bodies. When temperatures drop, you’ll often notice your chickens fluffing themselves up, creating an extra layer of protection against the cold.
However, even the fluffiest chicken can’t stay healthy in a damp environment.
And here’s where things get interesting.
Every night, while your chickens are sleeping peacefully on their roosts, they’re contributing to the moisture inside their coop.
They’re breathing, producing droppings, and releasing moisture into the air. Add a spilled waterer or damp bedding, and suddenly your cozy little chicken coop can become surprisingly humid.
Without proper ventilation, that moisture has nowhere to go.
Instead, it begins collecting on walls, windows, ceilings, and other surfaces.
Over time, this can create an environment that encourages ammonia buildup, respiratory irritation, and even frostbite.
According to the University of Minnesota Extension, proper ventilation and manure management are essential for controlling moisture and maintaining healthy winter conditions inside a chicken coop. UMN Extension
The Hidden Danger of Moisture Inside Your Chicken Coop
Let’s say it’s a freezing January morning.
You head outside with your coffee, open the chicken coop door, and notice condensation covering the windows.
Maybe the walls feel slightly damp, or you see moisture collecting around the roof.
At first, you might not think much of it.
But those little water droplets are telling you something important.
Your chicken coop may not have enough ventilation.
Moisture inside a coop comes from several sources:
- Chickens breathing throughout the night.
- Droppings accumulating beneath the roosts.
- Water spilling from drinkers.
- Wet bedding brought in from muddy runs.
- Rain or snow entering through damaged roofing or openings.
When all that moisture becomes trapped inside a tightly sealed coop, humidity increases.
And high humidity is particularly problematic during freezing temperatures.
Think about the difference between stepping outside on a crisp, dry winter morning and being outside in cold, damp weather. Even at similar temperatures, the damp conditions can feel much more uncomfortable.
Your chickens experience challenges from moisture, too.
Keeping their feathers and bedding dry helps them maintain their natural insulation and stay comfortable through the winter.
Ammonia: The Problem You Might Smell Before You See
Now, let’s talk about something that doesn’t always get enough attention in backyard chicken keeping: ammonia.
Chicken manure naturally releases ammonia as it breaks down. When droppings accumulate in damp bedding, ammonia can become a serious air-quality concern.
In a well-ventilated coop, fresh air helps remove ammonia and other gases.
But in a tightly sealed coop, those gases can build up.
And that’s bad news for your flock.
Ammonia exposure can irritate chickens’ eyes and respiratory systems, potentially contributing to respiratory problems and making birds more vulnerable to illness.
One of the easiest ways to identify a possible problem is also one of the simplest.
Use your nose!
When you open your chicken coop in the morning, what do you smell?
A little natural chicken-coop odor is normal. But if you’re greeted by a strong, sharp ammonia smell, it’s time to take action.
Don’t wait until the odor becomes overwhelming. Harmful levels can occur before the smell seems especially strong, and our noses can become accustomed to odors over time.
Your first steps should be to remove wet or heavily soiled bedding, clean up accumulated droppings, check for water leaks, and improve airflow.
Simply adding more bedding on top of a wet, ammonia-producing mess isn’t always the answer.
Sometimes, we need to remove the problem rather than cover it up!
How Poor Chicken Coop Ventilation Can Cause Frostbite
This might be the most surprising part of winter chicken care.
When we think about frostbite in chickens, we naturally think about freezing temperatures.
But cold temperatures combined with excess moisture can substantially increase the risk of frostbite.
Frostbite most commonly affects exposed areas, including:
- Combs, especially large single combs.
- Wattles.
- Toes and feet.
When humid air becomes trapped inside the coop, condensation can form on cold surfaces. Excess moisture can also collect around exposed tissues.
Combine that moisture with freezing temperatures, and your chickens face a greater risk of frostbite.
This is particularly important for breeds with larger combs, such as our Leghorns!
You might assume that sealing every opening in the coop will help prevent frostbite by keeping the inside slightly warmer.
But if that sealed environment becomes humid, you could unintentionally increase the very risk you’re trying to prevent.
Keeping the coop dry, providing appropriate roosts, and maintaining good ventilation are among the most effective ways to reduce that risk. Small and backyard poultry+1
If you notice gray, blackened, swollen, or otherwise damaged areas on a chicken’s comb, wattles, or feet, seek veterinary guidance. Avoid rubbing or aggressively warming suspected frostbitten tissue.
Drafts vs. Ventilation: What’s the Difference?
This is where chicken coop winterization can get a little confusing.
We’re constantly told to eliminate drafts, but we’re also told that chickens need ventilation.
So how can we accomplish both?
The answer is actually pretty simple once you understand the difference.
Drafts
Uncontrolled cold air blowing directly onto chickens, particularly while they’re roosting.
Examples: A gap behind the roosting bars, wind blowing through a broken wall panel, or an opening at bird level facing prevailing winds.
Ventilation
Intentional air exchange that brings in fresh air and allows moisture and stale air to escape without chilling roosting birds.
Examples: Protected vents near the roofline, openings beneath the eaves, or adjustable upper windows.
The goal isn’t to prevent all air movement.
The goal is to prevent cold wind from blowing directly across your chickens while still allowing the coop to breathe.
One of the most practical solutions is to position ventilation openings above the roosting area, where incoming air can mix with the coop’s interior air before reaching the birds.
The University of Maryland Extension recommends providing fresh air while preventing direct drafts and allowing stale air to escape near the roof or ceiling. University of Maryland Extension
Seven Ways to Improve Winter Chicken Coop Ventilation
Fortunately, you don’t need an elaborate ventilation system to create a healthier environment for your flock.
Most backyard chicken keepers can make meaningful improvements with a few practical adjustments.
1. Keep ventilation openings above your chickens
High vents beneath the roofline or eaves can help remove warm, moisture-laden air.
Make sure the openings are protected with securely attached hardware cloth to keep predators and rodents out.
2. Seal drafts at roosting level
Inspect the walls around your roosting bars.
If you can feel cold wind blowing directly onto the area where your chickens sleep, address that opening.
Remember, we’re eliminating drafts, not ventilation!
3. Keep bedding dry
Whether you use pine shavings, straw, or a managed deep-litter system, moisture control is essential.
Remove soaked bedding promptly, especially around waterers and beneath roosts.
A deep layer of bedding doesn’t automatically mean a healthy coop. If the material becomes saturated, it needs attention.
4. Clean beneath the roosting bars
One of the biggest sources of manure buildup is the area directly beneath where chickens sleep.
Consider using removable droppings boards or trays to make cleaning easier.
A few minutes of routine maintenance can go a long way toward improving air quality.
5. Watch for condensation
Pay attention to windows, ceilings, and walls when you open the coop each morning.
If condensation regularly accumulates, evaluate the ventilation, bedding, water sources, and possible roof leaks.
Condensation is a warning sign that moisture management needs improvement.
6. Position waterers carefully
If possible, place drinking water in a protected outdoor run to reduce indoor moisture.
If your chickens need water inside the coop, use a stable, spill-resistant waterer and check the area frequently.
Winter already brings enough challenges without adding soaked bedding to the list!
7. Adjust ventilation as conditions change
Here in Virginia, winter weather can vary dramatically.
We might experience a freezing night followed by a relatively mild, rainy afternoon.
Those changing conditions mean that ventilation should be evaluated regularly.
Adjustable vents or windows can be useful, provided you maintain adequate fresh-air exchange and prevent direct drafts.
There isn’t one perfect vent opening size for every coop. The correct setup depends on flock size, coop design, stocking density, and local weather conditions.
How Can You Tell If Your Chicken Coop Has Enough Ventilation?
One of my favorite things about homesteading is that so much of what we learn comes from simply paying attention.
We observe our animals. We watch their behavior. We notice when something changes.
And winter chicken care is no different.
The next time you head outside to check your chickens, take a few extra moments to evaluate their coop.
Winter Coop Ventilation Checklist
- No strong ammonia odor when opening the coop
- No persistent condensation on windows or walls
- Bedding is mostly dry and free of soaked patches
- No cold wind blowing directly across the roosts
- High ventilation openings are clear and predator-proof
- Chickens are behaving normally without persistent respiratory symptoms
Remember, a coop that passes these checks today might need additional attention after a heavy rain, a sudden cold snap, or several days of confined birds.
And if you’re noticing repeated moisture problems, strong odors, or unhealthy birds, don’t ignore those signs.
Your flock is counting on you to recognize when something needs to change.
Should You Heat Your Chicken Coop Instead?
This is another question that comes up every winter.
Wouldn’t adding a heat source solve the problem of keeping chickens warm?
Not necessarily.
Supplemental heat does not replace ventilation or proper moisture management.
In fact, heating a poorly ventilated coop without addressing the moisture source can leave you with the same underlying air-quality problems.
Heat lamps also introduce a serious fire hazard when used around combustible bedding, feathers, and wooden structures. Heating panels, if you NEED a source are the best option.
Healthy, fully feathered adult chickens can often tolerate cold weather remarkably well when they have appropriate shelter, adequate nutrition, dry bedding, and protection from drafts.
However, young, sick, underweight, molting, or cold-sensitive birds may need additional protection. Extreme temperatures and individual circumstances matter, so supplemental heat decisions should be made based on the flock’s actual needs and the safety of the equipment.
Focus on a dry, well-managed, properly ventilated coop first.
The Biggest Winter Chicken Coop Mistake? Trying to Make It Airtight
I think this is one of those lessons that perfectly captures what homesteading is all about.
Sometimes, our best intentions can lead us in the wrong direction.
We want our chickens to be comfortable, so we try to eliminate every possible source of cold air.
We add bedding, close windows, cover openings, and seal cracks.
And while some of those steps are absolutely necessary, we have to remember that chickens need fresh air just as much as they need protection from the weather.
A chicken coop isn’t supposed to be an airtight box.
It’s supposed to be a safe, dry shelter where our birds can rest comfortably while moisture, ammonia, and stale air escape.
That balance is what we’re working toward.



Leave a Reply